It's been a long time since my last post...been enjoying married life too much 😉 I've decided to kick off 2020 with a blazer. I've never made one before but there's a gap in my wardrobe for a light jacket this spring
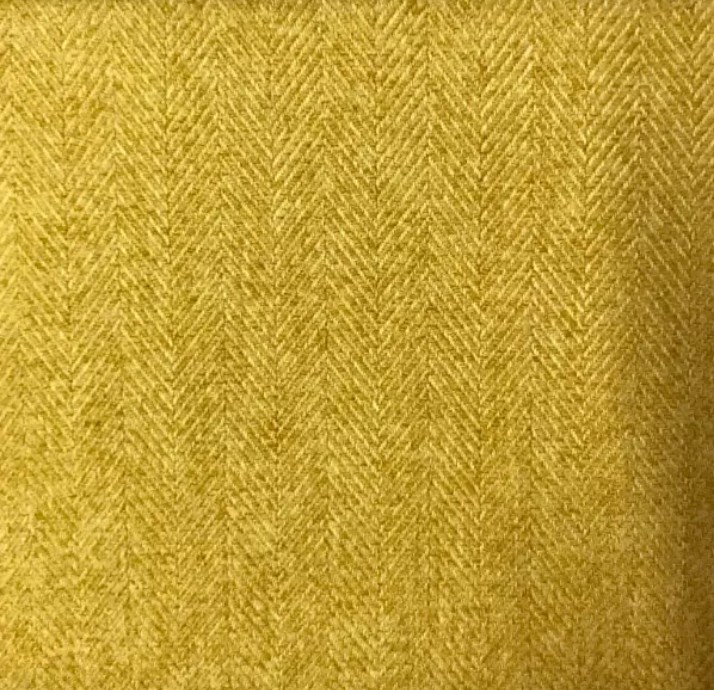
I chose image D and was going to also go for the same colour fabric until I remembered how much I love the colour mustard.....and tweed.... A quick eBay search and I found the perfect colour combo. It's a bit louder than my usual style but, let's be brave...
And you gotta have a funky lining!
Due to eating too many pies the largest size in this pattern was a little tight in me 🙄 so I spent some time making a the front and back panels just a couple of cms bigger. Ideally I wanted to be able to wear the blazer over my hoody. I made the resized pattern out of cotton so i could easily reuse it.
I decided on making mustard the main colour and using grey as the accent. I also top stitched my seams to make the finished look more professional. I also like the detailing too.
So far so easy. I moved onto the collar next. The under collar was cut on the bias and has stretched quite a lot. I managed to manipulate it back to the size and shape of the paper pattern so I could add the fusible interfacing but in hindsight I should have left it attached to the paper pattern to make this process a bit quicker.
I've basted the collar to the jacket and it will eventually be enclosed within the lining. (Yes the wedding dress from 2018 is still waiting to be mended and stored away 🤦)
The sleeves are also ready to go. They were a bit fiddly as they are half one fabric and half the other and are joined in a triangular shape. If you take the time to pin it first it's quite straightforward.
Sewing machines are now switched off while I wait for the lining fabric to be delivered....